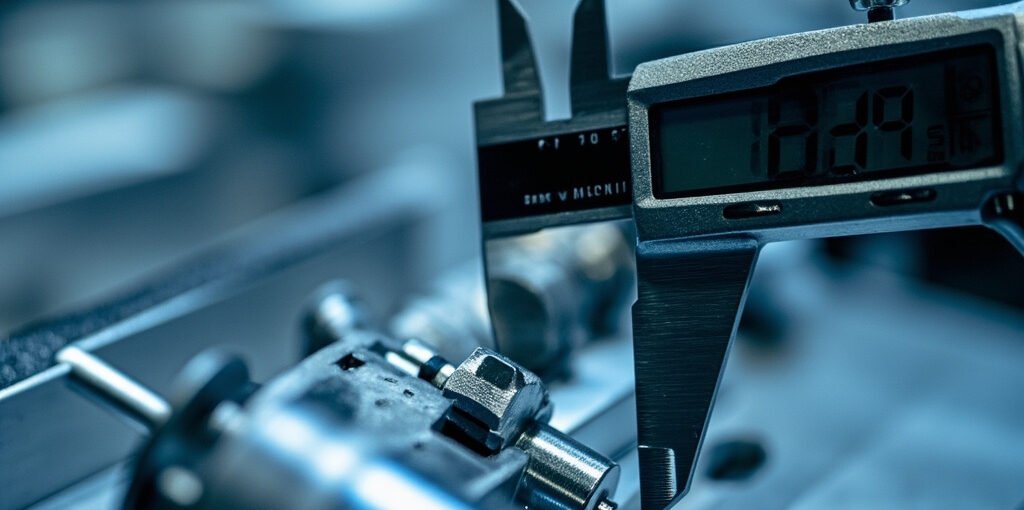
Understanding Position Offset Setting is essential for achieving precision, repeatability, and efficiency in modern machining, motion control, and automated systems. Whether you are operating a CNC machine, configuring an industrial robot, or programming a pick-and-place system, mastering position offsets allows you to align tool paths, compensate for tool wear, and shift coordinate systems without rewriting entire programs. This comprehensive guide explores the fundamentals, types, applications, and best practices of position offset settings, equipping you with the knowledge to optimize your manufacturing or automation workflows.
What Is Position Offset Setting?
A position offset setting is a numerical value or set of values applied to a machine’s or device’s coordinate system to shift its working origin or reference point. Instead of programming absolute coordinates from scratch, operators can use offsets to tell the controller where the workpiece, tool, or fixture is located relative to the machine’s zero point. This dramatically simplifies programming, reduces errors, and enables quick changeovers between parts.
In essence, position offsets act as a “translation layer” between your program and the physical machine. The controller combines the programmed coordinates with the active offset values to determine the final tool path. This separation of geometry and placement is a cornerstone of modern CNC programming and motion control.
Types of Position Offsets
Different applications and machine controllers use various types of position offsets. Below is a summary of the most common categories used across CNC and automation environments.
| Offset Type | Primary Purpose | Typical Use Case |
|---|---|---|
| Work Coordinate Offset (G54–G59) | Defines workpiece zero location | Multi-fixture machining setups |
| Tool Length Offset (G43/H) | Compensates for tool length differences | Multi-tool CNC operations |
| Tool Radius Offset (G41/G42) | Offsets tool center to part profile | Contour milling and profiling |
| Fixture Offset | Aligns multiple parts in a fixture | Palletized production |
| Rotary Axis Offset | Aligns 4th/5th axis centerline | 5-axis simultaneous machining |
How Position Offset Setting Works
The underlying principle of position offset setting is straightforward: the controller maintains a machine coordinate system (MCS) and one or more work coordinate systems (WCS). The MCS is fixed to the machine structure, while WCS values are stored as offsets that can be modified by the operator. When the program commands a move, the controller applies the active offset to translate the coordinates into actual axis positions.
For example, if a CNC mill has a work offset of X-150.000, Y-75.000, Z-100.000 stored in G54, then programming G0 X0 Y0 will physically move the tool to the X-150, Y-75 location on the machine. This allows the programmer to write the program in convenient part coordinates rather than worrying about the machine’s absolute zero position.
Step-by-Step Setup Process
Setting up a position offset correctly requires careful procedure. The following ordered list outlines the typical process for establishing a work coordinate offset on a CNC milling machine:
- Power on the machine and allow the controller to complete its initialization and homing sequence.
- Load the workpiece and clamp it securely in the fixture, vise, or chuck.
- Select a reference tool (usually a probe, edge finder, or known-length tool) to establish the part zero.
- Touch off the X and Y axes by bringing the tool to a known feature edge, then record the machine coordinate value.
- Touch off the Z axis on the top of the workpiece to set the vertical zero reference.
- Enter the recorded values into the appropriate offset register (G54–G59) through the controller’s offset page.
- Verify the offset by jogging to the programmed zero and confirming the tool position visually or with a dial indicator.
Common Applications Across Industries
Position offset settings are not limited to CNC machining. They are widely used across multiple industries, including:
- Robotics: Defining tool center points (TCP) and base frames for robotic arms.
- 3D Printing: Setting the home position, bed leveling offsets, and dual-extruder alignment.
- Laser Cutting: Compensating for kerf width and aligning multiple sheet origins.
- Photography & Videography: Adjusting gimbal calibration and motorized slider positions.
- Surveying & GIS: Applying datum offsets and transformation parameters for geospatial data.
Best Practices for Managing Position Offsets
To maximize the benefits of position offset settings and minimize errors, follow these proven best practices:
- Use a consistent naming convention for offset registers across all programs and operators.
- Document every offset in a setup sheet with the date, operator, and program version.
- Save backup copies of all offset values in a centralized database or cloud storage.
- Perform a dry run at reduced feed rates after establishing a new offset to verify motion.
- Recalibrate periodically to account for thermal growth, tool wear, or fixture shift.
Troubleshooting Common Issues
Even experienced operators occasionally encounter issues with position offset settings. The table below summarizes the most frequent problems and their solutions.
| Problem | Likely Cause | Recommended Solution |
|---|---|---|
| Tool cuts in wrong location | Wrong G-code offset active | Verify the correct G54–G59 is called in the program |
| Inconsistent part dimensions | Tool length not re-measured after change | Re-touch off and update tool offset after every tool change |
| Z-axis plunge too deep | Sign error in Z offset | Confirm negative/positive convention matches controller manual |
| Workpiece clamps during cut | Fixture offset misaligned with stock | Re-probe fixture location and update G54–G59 |
Advanced Techniques and Automation
For high-mix production environments, modern controllers support macro variables and probing routines that automate position offset setting. A probing cycle can measure the workpiece, calculate the offset values, and write them directly into the offset registers without operator intervention. This not only speeds up setup but also eliminates human error and ensures consistent part quality across shifts.
In Industry 4.0 environments, position offsets can be transferred automatically from CAD/CAM software to the machine via post-processors and network protocols such as MTConnect or OPC UA. This digital thread